afterCancelBatch
Description
If the List is being synchronized in batches, fires after the user has clicked the 'Cancel' button to stop sending batches of records to the server to synchronize.
What is a Batch?
In a disconnected application a user might have been disconnected for quite some time, during which they may have done a fair number of edits on their client-side device. When they get their connection back, the user might then click on a synchronize button in order to add their edits back to the server. However, because they made a large number of edits, it is quite likely that the server might take a while to actually process all of the changes that the user made. While the server is processing information it is likely that the user/client would be waiting for a response and, if the server takes to long, might even time out before recieving said response. One way to avoid this problem is to send the edits made in 'batches' to the server, such that the user can get feedback as to what progress has been made. For a complete guide to setting up a detail view that uses batches to synchronize with a server see the Synchronization using Batches page.
The Cancel Button
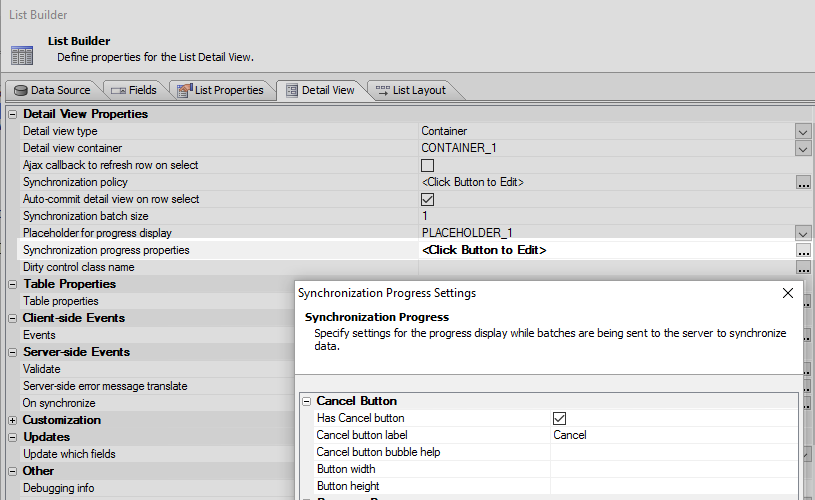
A Cancel button can be used to stop sending batches. This button can easily be defined on the Detail View pane in the list builder
by clicking the  button next to the 'Synchronization progress properties' property.
Tie a Message Box to an afterCancelBatch Event
Once the Cancel button is defined an afterCancelBatch event can be defined using javascript; to specify what happens after the Cancel button is clicked.
Build a detail view that has a synchronization button. The guide on the Synchronization using Batches page has instructions on how to do this.
On the Detail View pane of the List Builder under Client-side Events, click the
button next to the 'Events' property.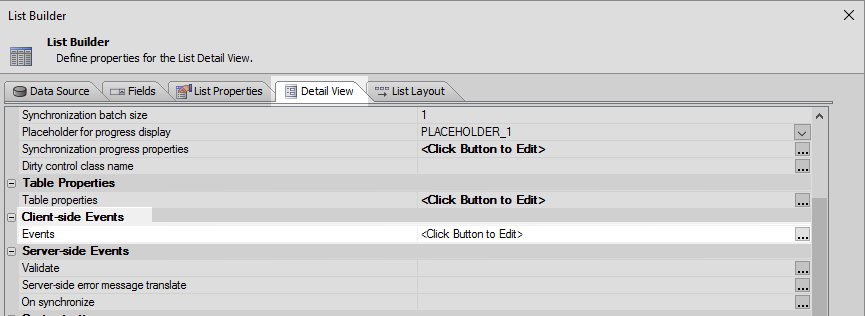
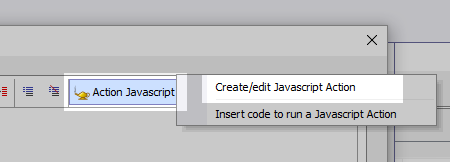
Highlight the afterCancelBatch event and click the Action Javascript button.
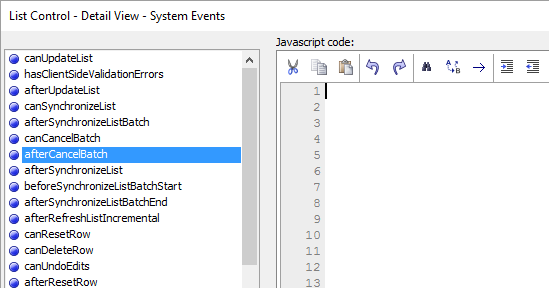
Click Create/Edit Javascript Action.
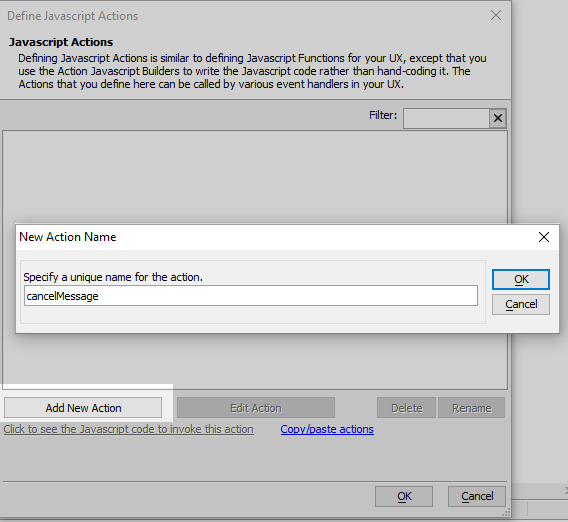
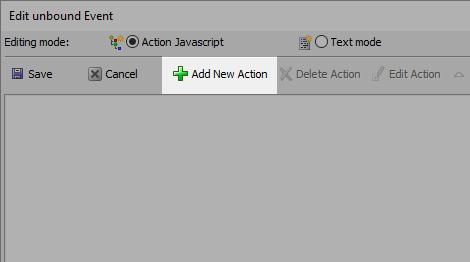
Click Add New Action. Give the new action a name like cancelMessage and click OK
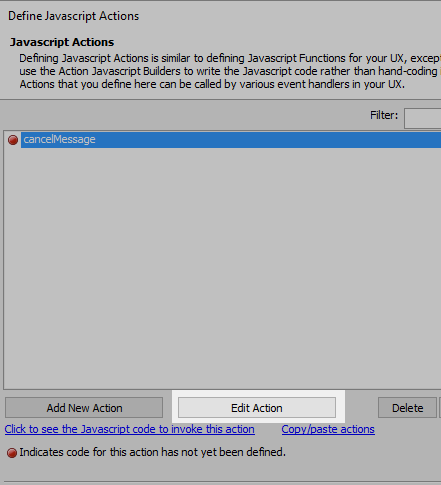
Click the Edit Action Button
Click the green '+' or Add New Action button.
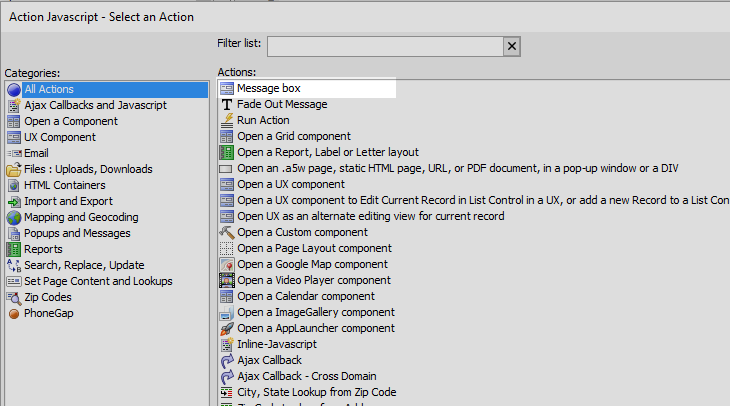
From the Actions list select 'Message Box' and click OK
Check the 'Use advanced message box' property.
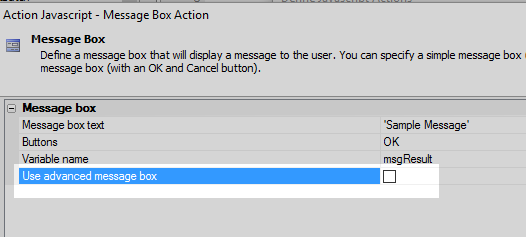
Click the
next to the Message box title property to open the HTML editor. Define some HTML for the message box title. Click Save.
Click the
next to the Message box text property to open the HTML editor. Add some text to the message box. Click SaveIn the List Control - Detail View - System Events page, click the 'Action Javascript' button again. This time select the "Insert code to run a Javascript Action" option, then click on the message box action that you defined.
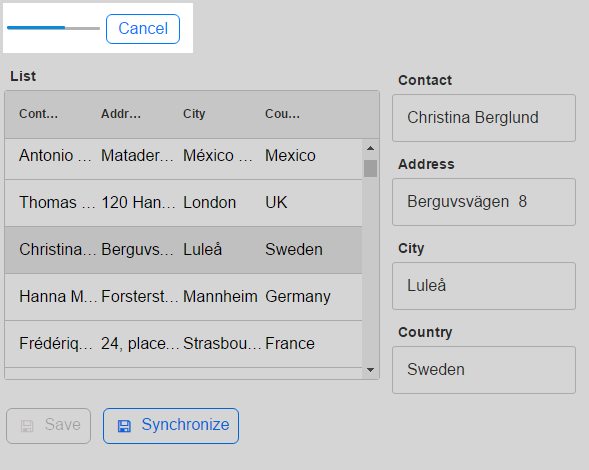
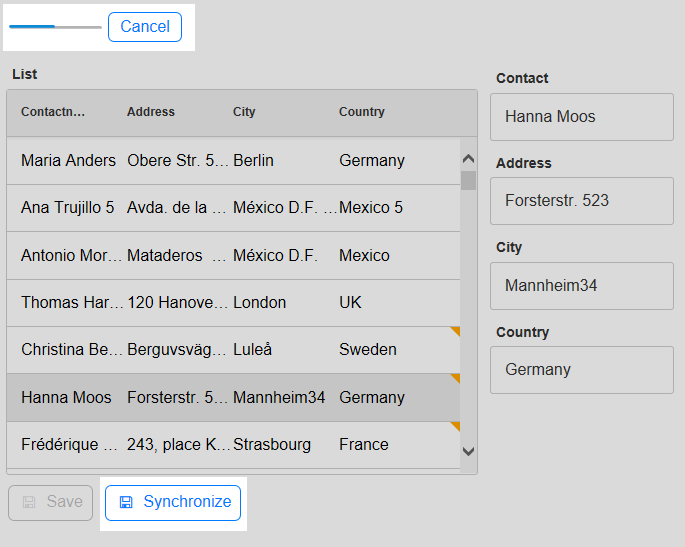
Click OK to get back to the UX Builder. Run the component in Live Preview. Highlight rows in the list control and make a number of edits in the detail view. Dirty fields will display yellow triangles in the List control.
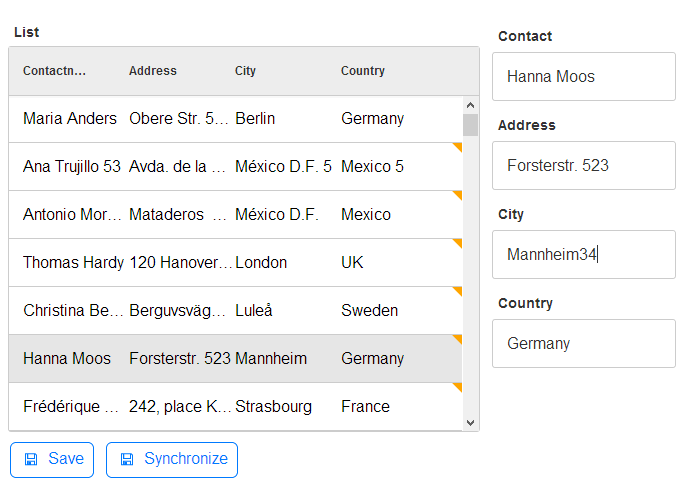
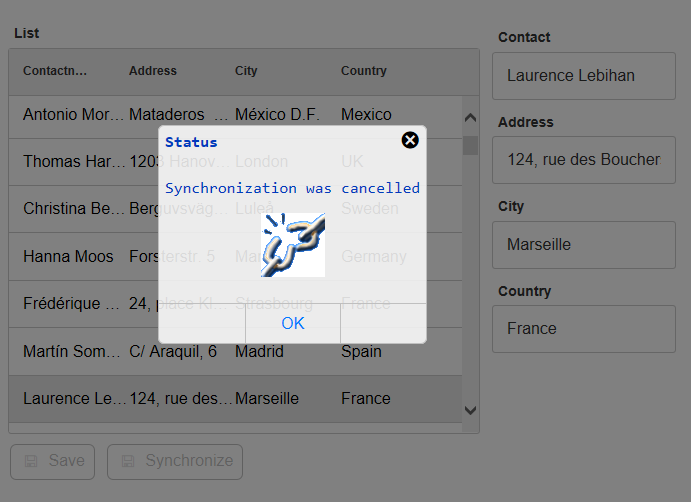
Click the Save and Synchronize buttons. The status bar at the top of the component should start and the 'Cancel' button should become active. Click the Cancel button before the synchronization finishes.
You should see the message box that you defined appear.
See Also